Posts

ESP-32 Cam + Arduino IDE = IOT Surveillance Car Arduino Projects For Beginners

Image
The  AI-Thinker ESP32-CAM module  comes with an ESP32-S chip, a very small size OV2640 camera and a microSD card slot. MicroSD card slot can be used to store images taken from the camera. Here  HTTP  communication protocol will be used to receive video streaming from the OV2640 camera over the web browser.  Components Required ESP32-CAM 4WD CAR Chasis FTDI Programmer DC Motors (4) Jumper Wires Wifi Antenna Motor Driver (L298N) Battery  Installing ESP32 Board on Arduino IDE We will  program the ESP32-CAM using Arduino IDE . For that, we have to install the ESP32 add-on on Arduino IDE. To install the ESP32 board in your Arduino IDE, go to  File> Preferences Now copy the below link and paste it into the “Additional Board Manager URLs” field, as shown in the image below. Then, click the “OK” button: https://dl.espressif.com/dl/package_esp32_index.json Now go to  Tools > Board > Board...
32 Inch DIY Arduino RTC Wall Clock

Image
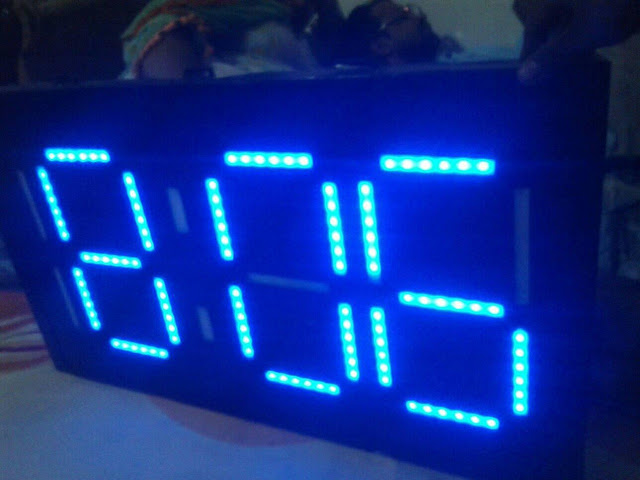
Arduino Seven Segment Display Clock by Multiplexing Four 7 Segment Displays: Digital wall Clocks are getting more popular now days and they are better than analog clock as it provides accurate time in hours, minutes and seconds and its easy to read the values. Some digital clocks also have many facilities like displaying temperature, humidity, setting multiple alarms etc. Most of the digital clocks use Seven Segments .      Step 1: Gathering The Materials This tutorial is about making a clock using DS1307 real time clock module, Arduino and a Four digit Seven segment led display which we can made by ourselves The following material is required: 1x Arduino Uno 1x 4 digit common cathode 7 segment 1x DS1307 RTC 1x 3v lithium button cell for RTC 1x 12 Volts Battery Or Power supply Solder wire and soldering iron 2x pushbuttons 8x 100 ohm resistors 4x BC547 NPN transistors 1 : Cut led strip at appropriate size. 2 : Now Connect them j...

DIY Arduino CNC [Updated]

Image
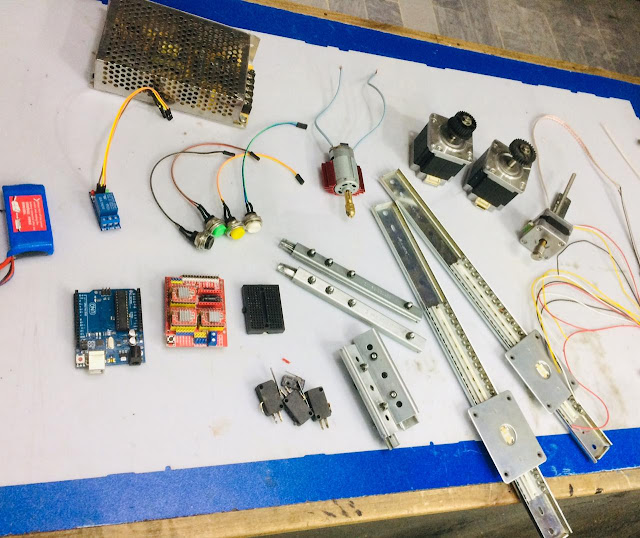
Assalam-o-Allaikum  all hope you are doing good. I'm here with another very cool project which you can build using some scrap/used parts of the Printers.  Introduction : In this Article I'm going to show you how you can make a Arduino CNC Machine at home from Scrap of the Old Printers  by using this CNC machine you can Etch Pcb's , can engrave several types of materials like plastic, wood etc. Components Used To Make This Thing! 1- Stepper Motors Nema 17 - 3x 2-Arduino Uno/Genuino - 1x 3- Limit Switches - 6x 4- CNC Shield V3 - 1x 5- LV-390 12 volt Dc Motor - 1x 6- Linear Rails - 3x 7- Jumper Wires - 20x 8- 12 volts 3-5 Amps Power Supply - 1x 9- Engraving Bits 10-A Lot Of Patience ! :D Making Of Custom Power And Controlling Unit : Materials Used  1- Acrylic Sheet    2- Arduino Uno  3- CNC shield  4- A4988 drivers  5- Jumper wires  6- Relay module  7- USB ports   ...